🔥 1. De aantrekkingskracht
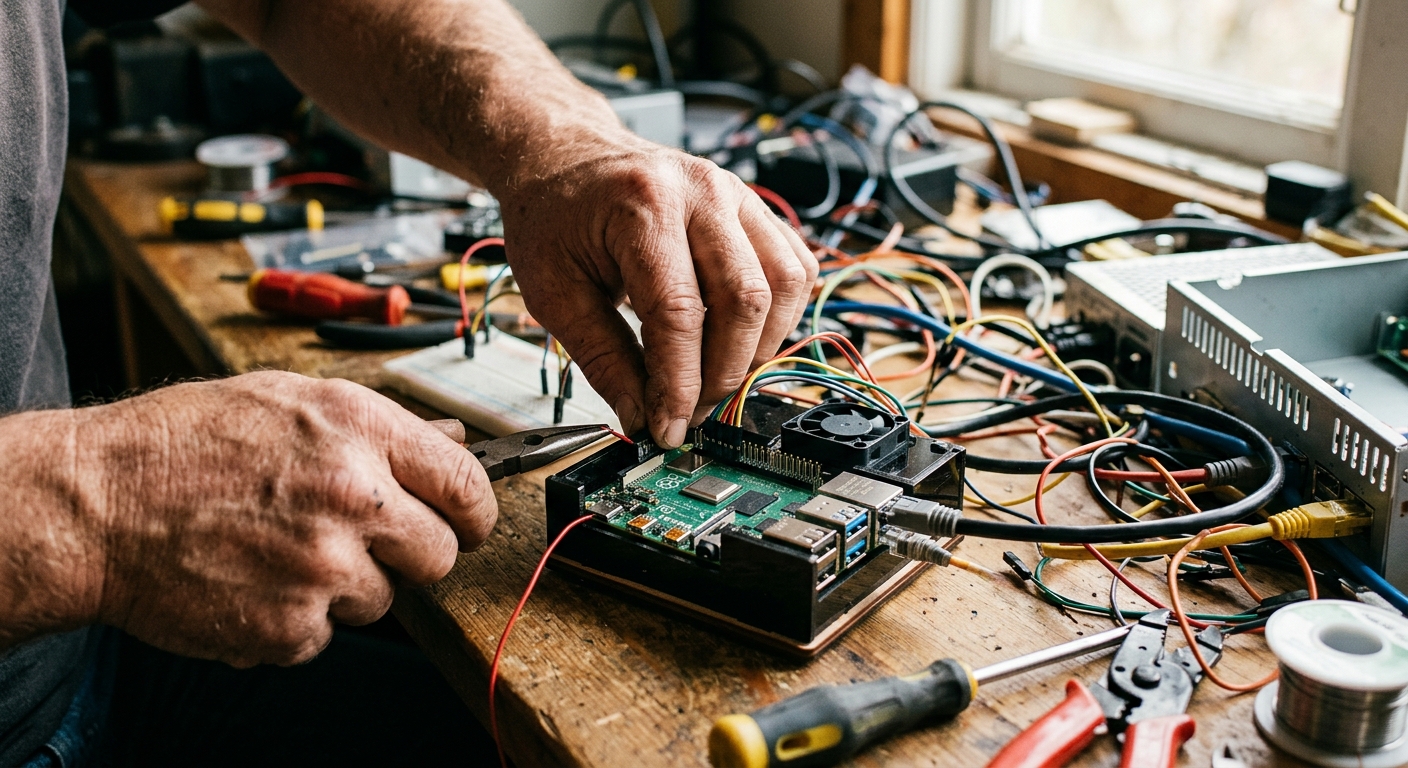
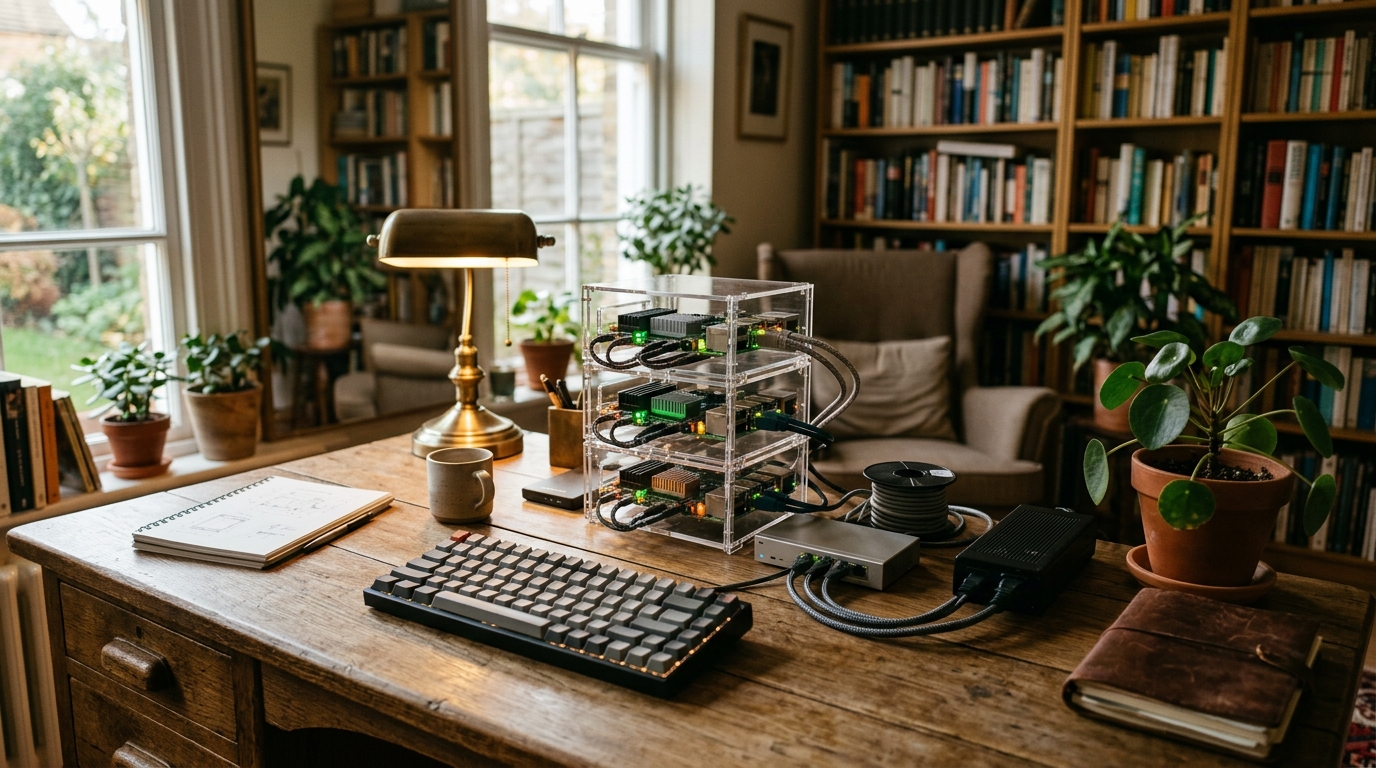
There is a quiet, profound thrill in liberating your data from cloud giants and housing it inside a tiny box humming softly on your desk. Building a Raspberry Pi home server transforms abstract computing concepts into a tangible physical reality. You are no longer just a passive consumer paying monthly cloud subscriptions; you become the sovereign architect of your own personal network. The physical assembly—snapping the board into a sleek case, plugging in high-speed storage, and watching the silent green activity LEDs pulse—gives digital infrastructure a tactile, satisfying presence.
Once logged into the command line, you enter a deeply immersive flow state. Terminal windows fill with clean lines of configuration code, micro-services spin up seamlessly inside containerized environments, and suddenly your entire home network bends to your rules. The psychological payoff is immediate and addictive: blocking ads network-wide, streaming your local media collection to any screen, and syncing files securely without third-party tracking creates a newfound sense of digital self-reliance and creative technical mastery.
🗺️ 2. Het landschap
Before buying hardware or downloading software, it is crucial to understand how a home server functions as the central nerve center for your local network. Rather than relying on power-hungry desktop computers, a micro-server leverages low-power ARM architecture to run non-stop service applications cleanly, silently, and efficiently.
Media & Entertainment Hub (Centralized Local Streaming)
Stream movies, music, and home photos directly across your home network using services like Jellyfin or Plex. Focuses on attaching high-capacity external drives, organizing local media metadata, and delivering smooth local network throughput without relying on commercial cloud platforms.
Network & Security Guard (DNS Control & Traffic Filtering)
Route all household traffic through local filtering tools like Pi-hole or Unbound to eliminate tracking and advertisements at the network root. Focuses on rock-solid ethernet uptime, low latency, and monitoring real-time network telemetry across every connected phone, TV, and laptop.
Cloud & Automation Suite (Private Storage & Smart Integrations)
Replace proprietary cloud storage with Nextcloud while controlling smart home devices via Home Assistant. Focuses on multi-device file synchronization, automated offsite backups, and local automation scripts that keep your data completely private.
For complete beginners, a single Docker-based media and ad-blocking setup running headless Raspberry Pi OS is universally recommended: it provides immediate daily utility through network-wide ad blocking while teaching you modern containerization without overloading your system memory.
🛒 3. Starterkit & budget
De absolute basis voor dag één. Geen dure poespas of onnodige drempels.


ℹ️ RokkuWare wordt ondersteund door lezers. Bij aankopen via links kunnen we een commissie ontvangen, zonder extra kosten voor jou.