🔥 1. Der Reiz
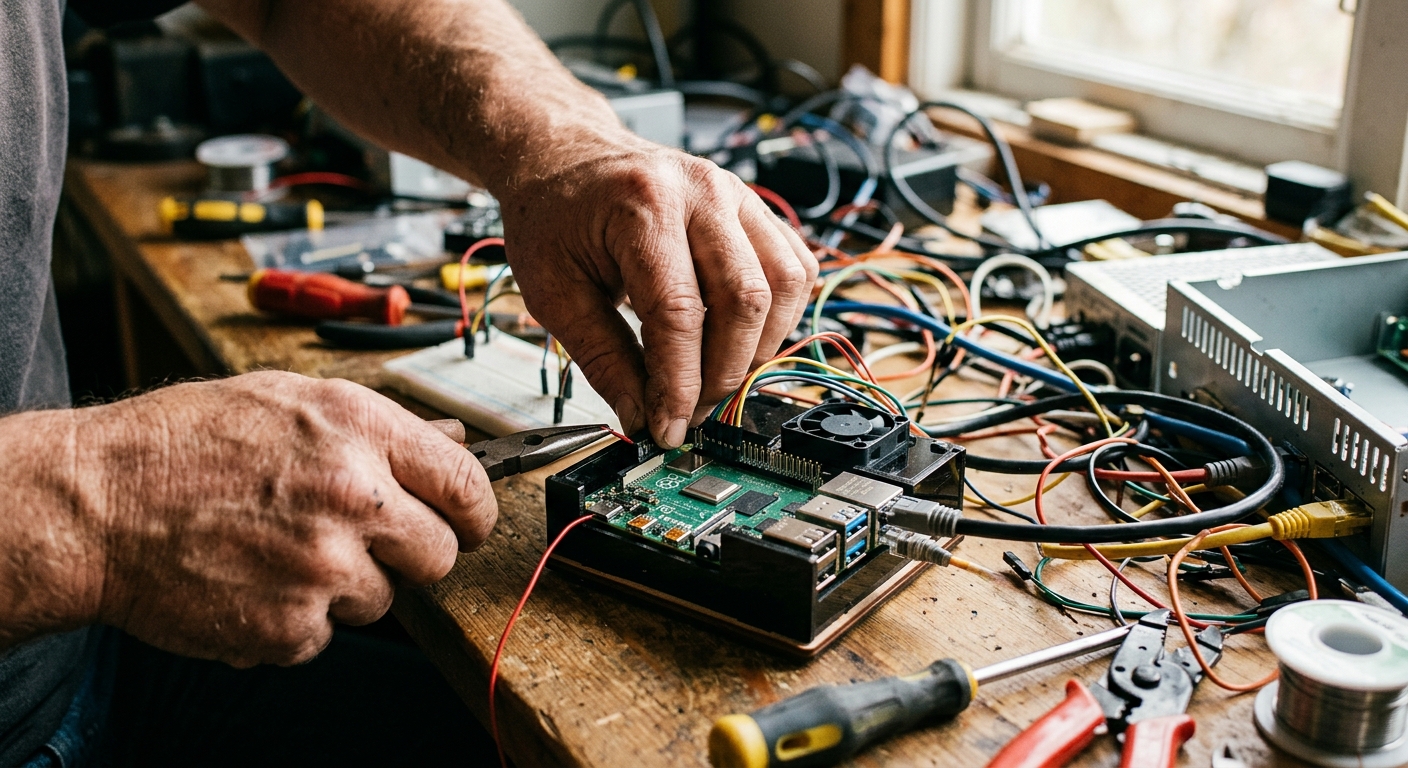
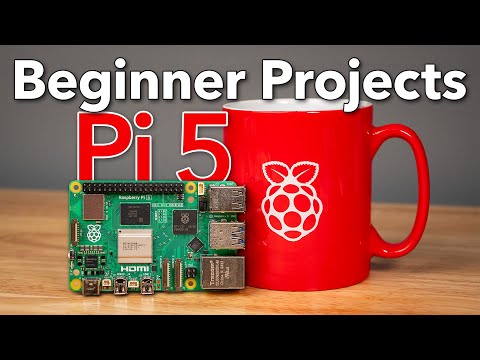
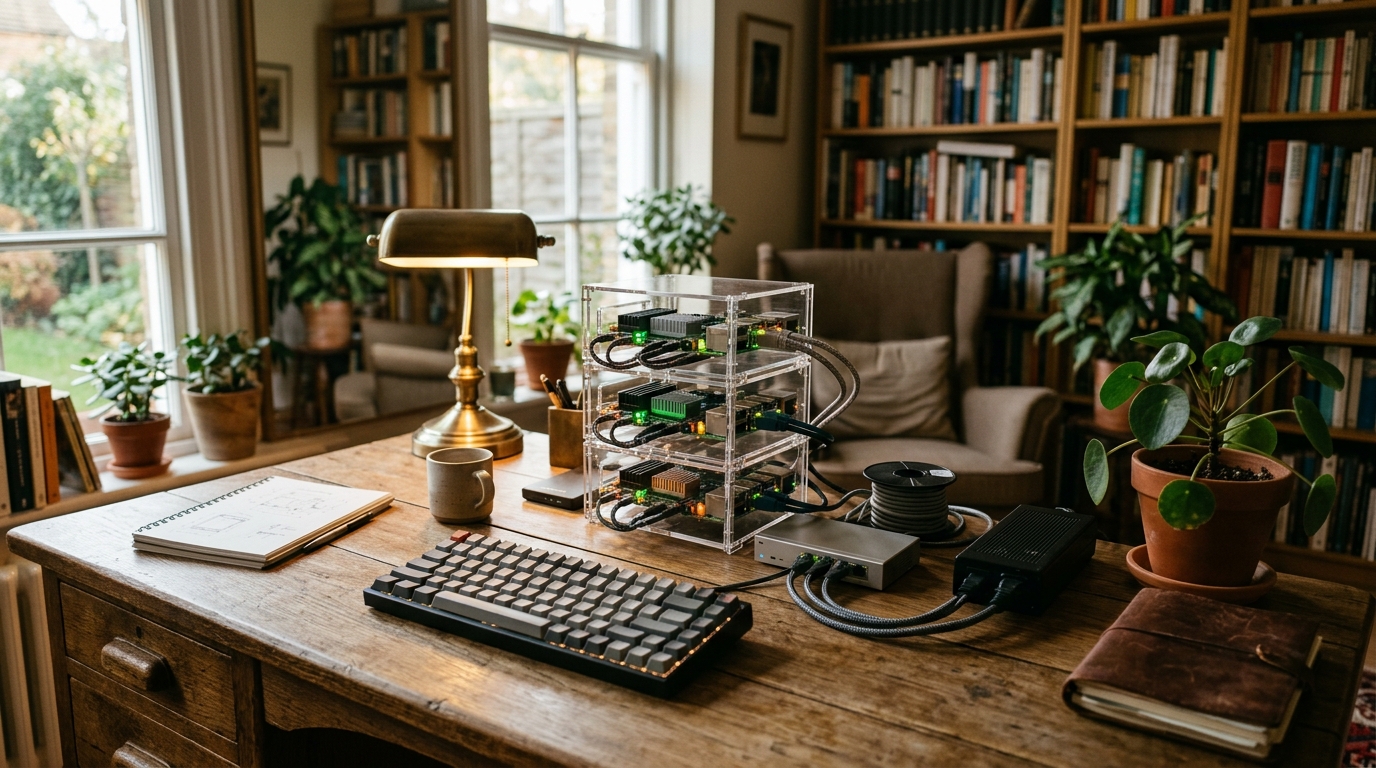
There is a quiet, profound thrill in liberating your data from cloud giants and housing it inside a tiny box humming softly on your desk. Building a Raspberry Pi home server transforms abstract computing concepts into a tangible physical reality. You are no longer just a passive consumer paying monthly cloud subscriptions; you become the sovereign architect of your own personal network. The physical assembly—snapping the board into a sleek case, plugging in high-speed storage, and watching the silent green activity LEDs pulse—gives digital infrastructure a tactile, satisfying presence.
Once logged into the command line, you enter a deeply immersive flow state. Terminal windows fill with clean lines of configuration code, micro-services spin up seamlessly inside containerized environments, and suddenly your entire home network bends to your rules. The psychological payoff is immediate and addictive: blocking ads network-wide, streaming your local media collection to any screen, and syncing files securely without third-party tracking creates a newfound sense of digital self-reliance and creative technical mastery.
🗺️ 2. Die Landschaft
Before buying hardware or downloading software, it is crucial to understand how a home server functions as the central nerve center for your local network. Rather than relying on power-hungry desktop computers, a micro-server leverages low-power ARM architecture to run non-stop service applications cleanly, silently, and efficiently.
Media & Entertainment Hub (Centralized Local Streaming)
Stream movies, music, and home photos directly across your home network using services like Jellyfin or Plex. Focuses on attaching high-capacity external drives, organizing local media metadata, and delivering smooth local network throughput without relying on commercial cloud platforms.
Network & Security Guard (DNS Control & Traffic Filtering)
Route all household traffic through local filtering tools like Pi-hole or Unbound to eliminate tracking and advertisements at the network root. Focuses on rock-solid ethernet uptime, low latency, and monitoring real-time network telemetry across every connected phone, TV, and laptop.
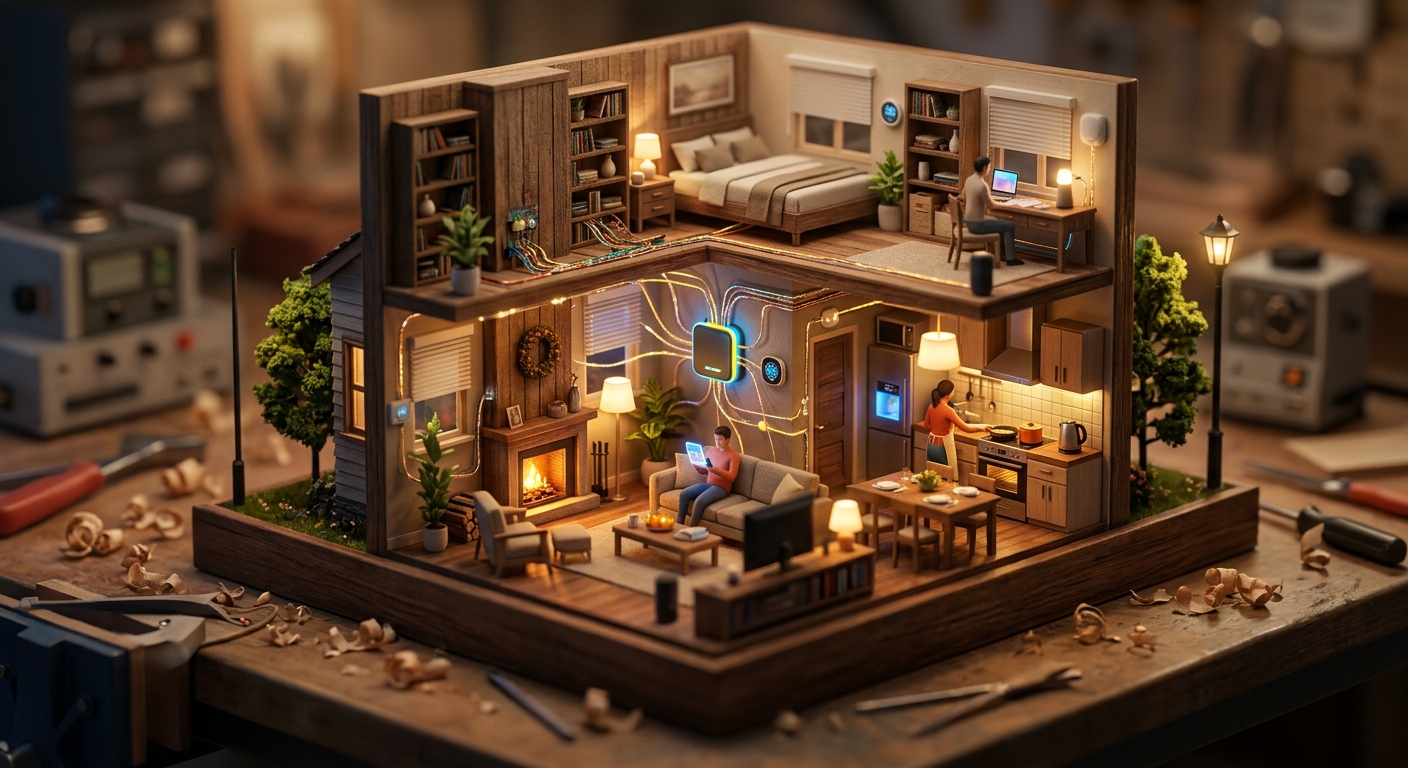
Cloud & Automation Suite (Private Storage & Smart Integrations)
Replace proprietary cloud storage with Nextcloud while controlling smart home devices via Home Assistant. Focuses on multi-device file synchronization, automated offsite backups, and local automation scripts that keep your data completely private.
For complete beginners, a single Docker-based media and ad-blocking setup running headless Raspberry Pi OS is universally recommended: it provides immediate daily utility through network-wide ad blocking while teaching you modern containerization without overloading your system memory.
🛒 3. Starter-Kit & Budget
Sorgfältig ausgewählte Mindestausrüstung für Tag 1. Kein teurer Schnickschnack, keine Hürden.


ℹ️ RokkuWare finanziert sich durch Leser. Wenn du über Links kaufst, erhalten wir möglicherweise eine Provision – ohne Zusatzkosten für dich.